Tuesday, March 26, 2013

Harbor Freight Cen-Tech 98614 & Autel MS509 Scan Tools

It's time to do some opening up of my scan tool and attempt to decipher the internals.


Now for a close up of the electronics:

I will be publishing a list of critical components (primarily ICs) on the board soon to help with reverse engineering the unit.

Sunday, March 3, 2013

YOOCNC T62-3AX CNC Controller for 3020T

Many people may want to add additional inputs and outputs to their 3020CNC, but not know how. In this post I will attempt to show others how one could possibly do this with their existing hardware. This eliminates costly (not that costly these days) replacement of the controller board (depending on what you want to do it may be worth upgrading your controller).

The YOOCNC T62-3AX is the controller board on my 3020T CNC. It has only XYZ axes (no A axis like other YOOCNC boards). There are no inputs being used from the factory other than the E-Stop. However, from my analysis of the PCB board we can add at 5 inputs and a single output channel to the existing board without much modification.
The board uses the EL 817 photo coupler as well as 74HC140 Hex Inverting Schmitt Triggers (for the outputs).

PCB Schematic/Routing:
 I tried to make this schematic/PCB design as close as possible to the original. It was drawn in FreePCB, and open source project. It's a great option to quick making quick circuits. Make sure to check it out as it functions very similar to PCB123. I might add more later to show additional options.

On the left you see the 5 photo-couplers that are unused with the exception of U25 which runs the E-Stop. Then on the right side you see U14, U24, & U10 which are an unused output. U4 is a photo-coupler which actually is not soldered to the board, so I would have to order one chip to make that functional. U14 & U10 are hex-inverting schmitt triggers that were mentioned above.

Some pictures of the board itself:
So that's on for now folks! I will follow up this post with the modifications of the circuit board to add my limit switches and possible spindle on/off control.

Unpacking the 3020 CNC


I received my CNC and took a few pictures of how well it was packaged. Take a look!


 The box was not that impressive at all from the outside, but it was deceptively well packed as I found out.
 The foam was cut perfectly to fit every nook & cranny of the box to prevent any movement of the machine during shipping.


 Even the servos were very well packed in a thick foam case made specifically for them.


 Here is the CNC router on it's new base, a craftsman tool bench.

Thursday, December 13, 2012

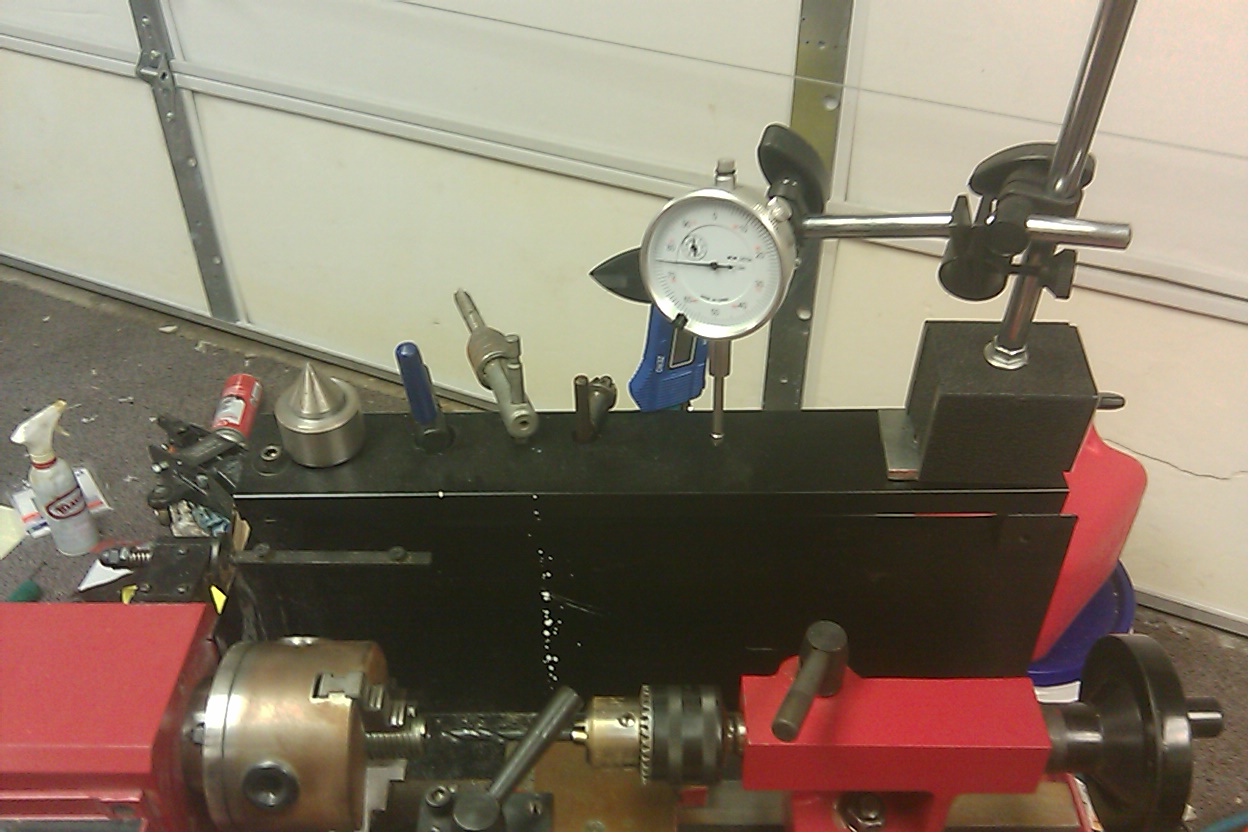
Lathe Workstation

Here's a little picture tutorial of the evolution of my lathe setup/work station since I purchased it. First I have a couple of images of it before I purchased it, with the original owner.
 He had mounted short piece of wood on the back "splash shield" to hold some of the most common/larger tooling and the dial indicator.
 Picture of the back of the basic, bottom of the line, Craftsman tool box it was bolted too. There was a piece of plywood as a work surface. I made sure to secure the lathe bed with all 4 bolts. If you do this, make sure not to over tighten it, especially if the surface isn't 100% even, or it will warp the bed way.


I later upgraded the tool box to a much larger unit with ball bearings.

Wednesday, December 12, 2012

Alternator Installation on Tecumseh HMSK80 Engine

So I've purchased a used 7A coil and matching flywheel. The one part that I didn't discuss in my last post was the key missing component. In order to operate correctly the alternator, which generates A.C. power, need a rectifier to convert the A.C. to D.C. Then I can use an automotive style utility light which are easily obtained at local stores. Adding a battery allows me to run the light without the engine running, or when the engine is running at low RPMs.
Original flywheel is removed. This is required to install the alternator coils which are mounted underneath. The old flywheel makes a nice paper weight once it's off.
The new flywheel has 5 magnets to match the alternator coil below. I'm not knowledgeable on the effects of different numbers of magnets numbers of coils. They would most likely affect the power output and possibly frequency/amplitude of the output AC signal.
Below I've mounted the alternator to the engine.
Routing of the wires is critical as it cannot rub against the flywheel when running, nor can it crimp the fuel line. Try a few different routing options to find what's best for your setup.
Below are the two AC alternator output wires hooked up to the two channels of my scope.
Same thing, just overlaid.
Then I hooked it up to a full-bridge rectifier and we see the desired "DC" output is not clean at all.
I will be adding a capacitor as well as a regulating circuit to reduce the voltage to a stable 14.4V. I hope to use a switching setup rather than linear regulator. The regulator circuit will follow in my next post.

Saturday, November 24, 2012

Adding Alternator to Snowblower with Tecumseh Engine

I've got a 24" Yard Machines snow blower (31AS6LCE700) with what I believe to be the largest engine (at least that I've ever seen) on a blower that width. It's a Tecumseh 10.0 HP that is 358cc (LH358SA-159517Z). The engine is an older style "flat head" which is no longer made by the now defunct Tecumseh. The engine is great, but it lacks an alternator to run a light for the snow blower. So I've researched various other MTD model snow blowers as well as similar LH358SA aka HMSK80 engines. There are several alternators to choose from:
-1 Amp (18 Watt), P/N 611111, Readily available and probably most common. It has only two coils and takes up 120 degees if the flywheel (a third of the pie!)
-3 Amp (~36 Watt @12V), P/N 611095 or P/N 611113 or P/N 611116
-3 Amp D.C., 5 Amp A.C. ( ), P/N 611104. This is for a system that uses an A.C. light, but has a battery that needs to be charged.
-7 Amp (~84 Watt @ 12V), P/N 611097 or P/N 611290


However, you need more than just an alternator to make power. The flywheel must be replaced with a flywheel which has magnets on inside ring. Flywheels:
-Flywheel matched to 1 Amp, P/N 611093?
-Flywheel matched to 3Amp, P/N 611083, or P/N611093
-Flywheel matched to 3Amp D.C./5Amp A.C., P/N 611309.
-Flywheel matched to 7Amp, P/N 611094 (5 magnets) 

*There may be errors in this list of part numbers. Fitment is not guaranteed. This is just the best I could do by spending a few hours searching on the internet. There may be more compatible part numbers for coils & flywheels too.*

He is the matched set I purchased:
Note that there are 5 magnets on this flywheel. Also, there are 9 coils on the alternator. This is the highest output I have run accross at 7 Amps, or ~84 Watts. Part numbers are 611094 for the flywheel and
611097 (or  611290) for the coil. It comes off of a Tecumseh model #HMSK80-155497S

I will do a follow up after the installation which a performance evaluation.

Wednesday, October 31, 2012

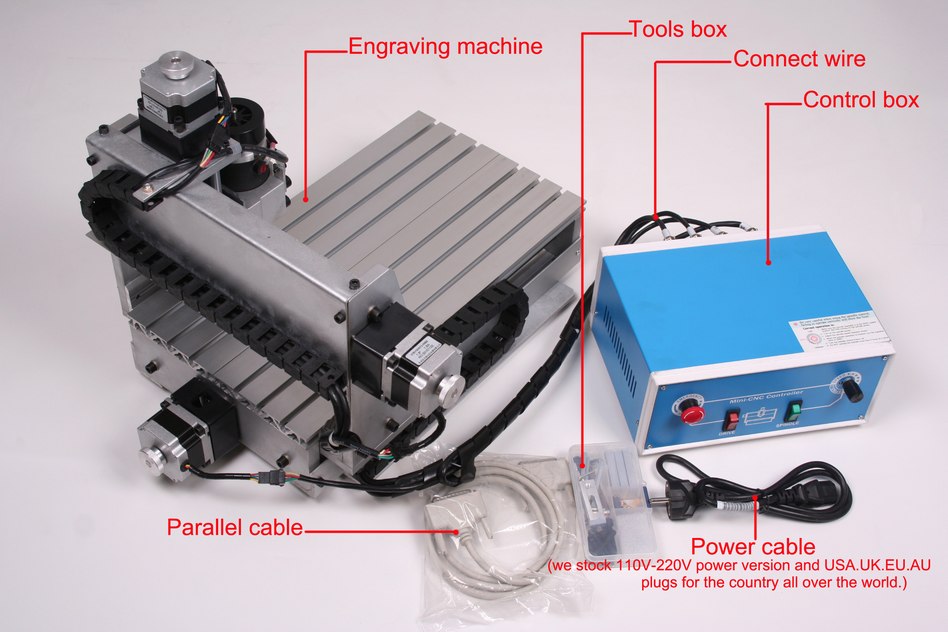
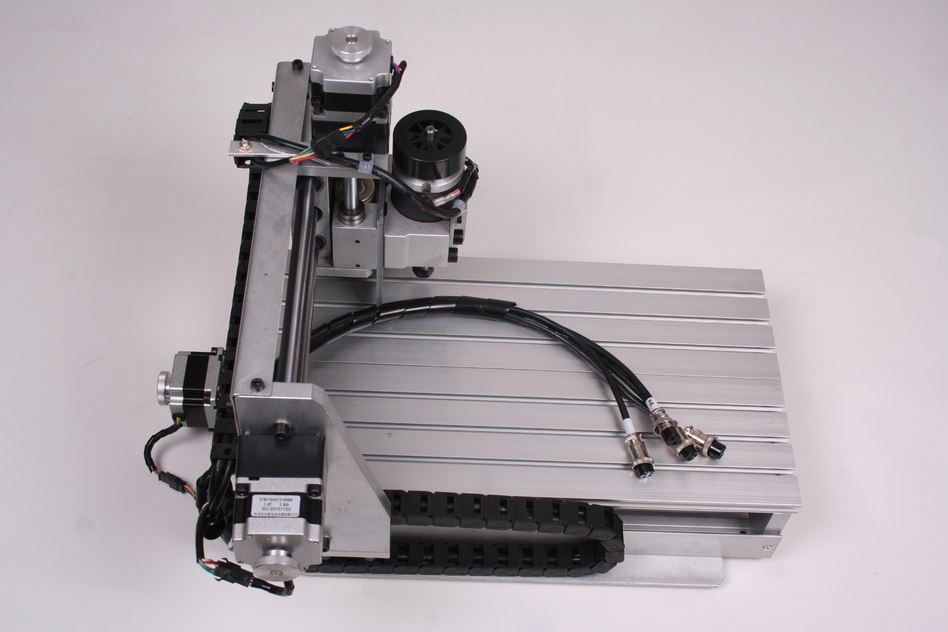
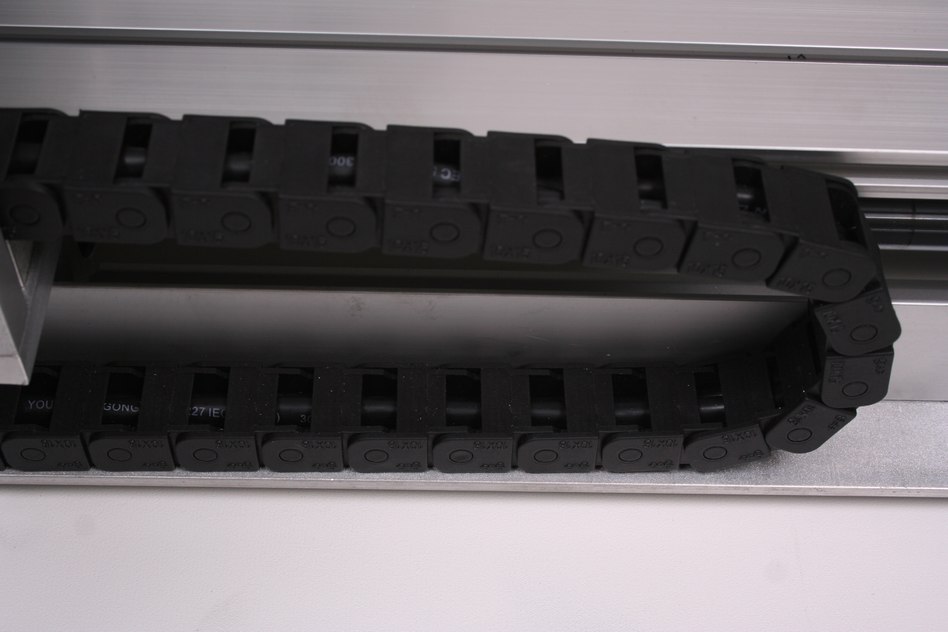
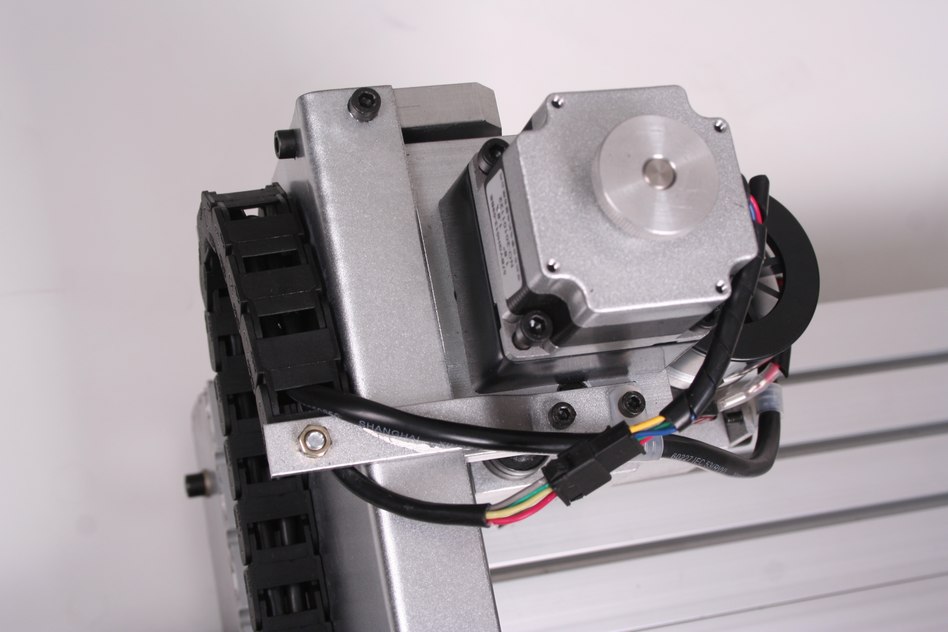
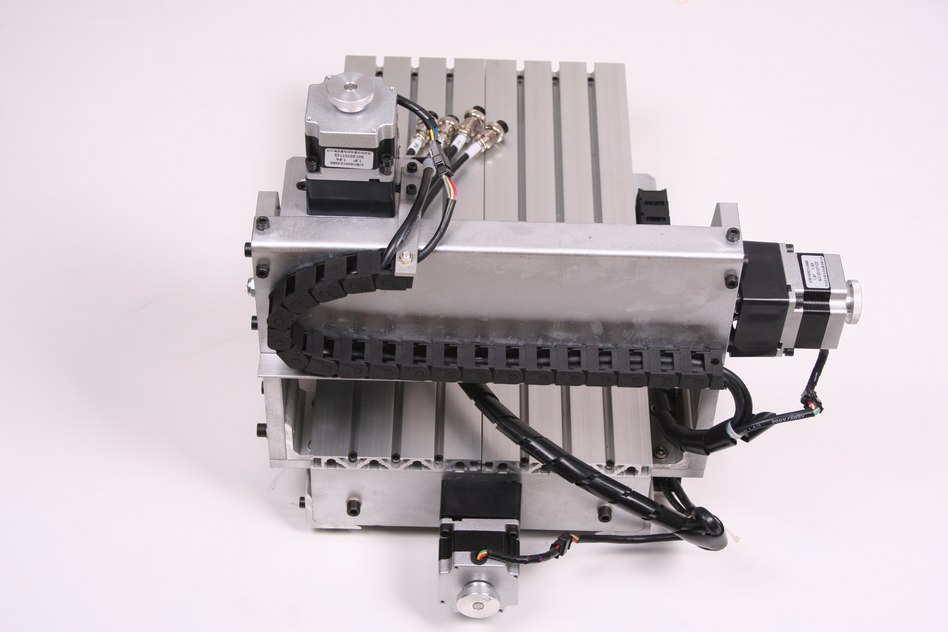
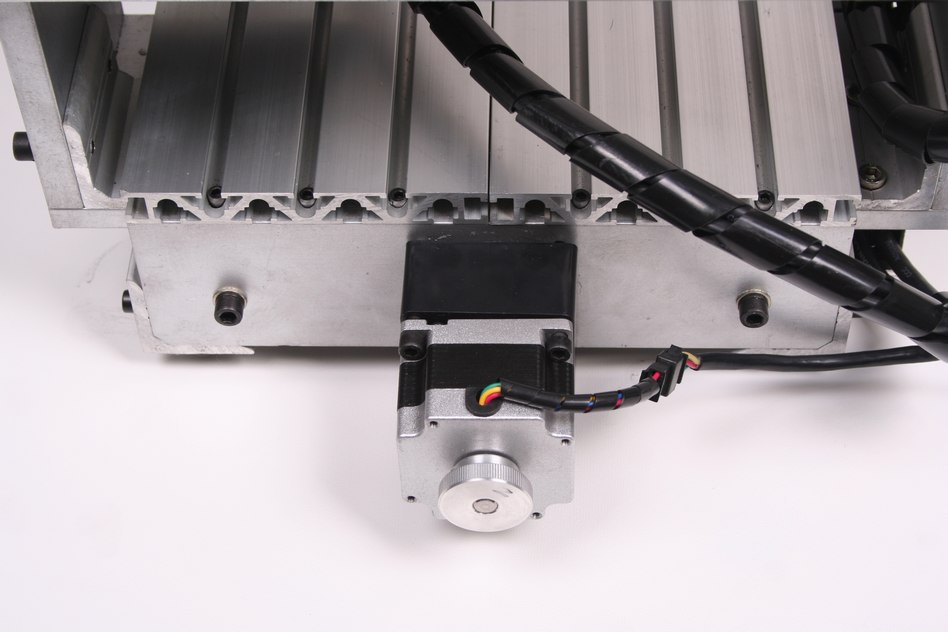
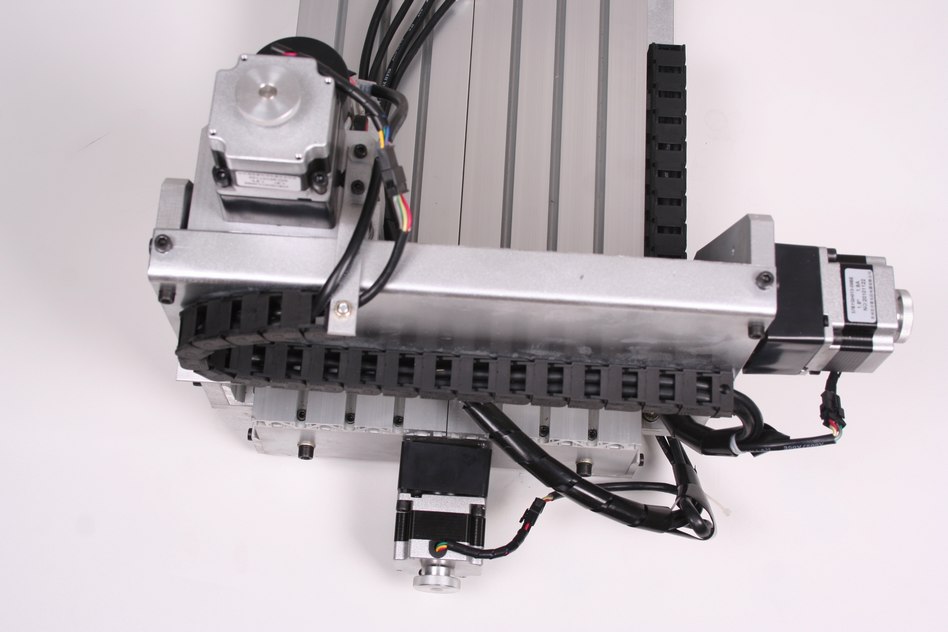
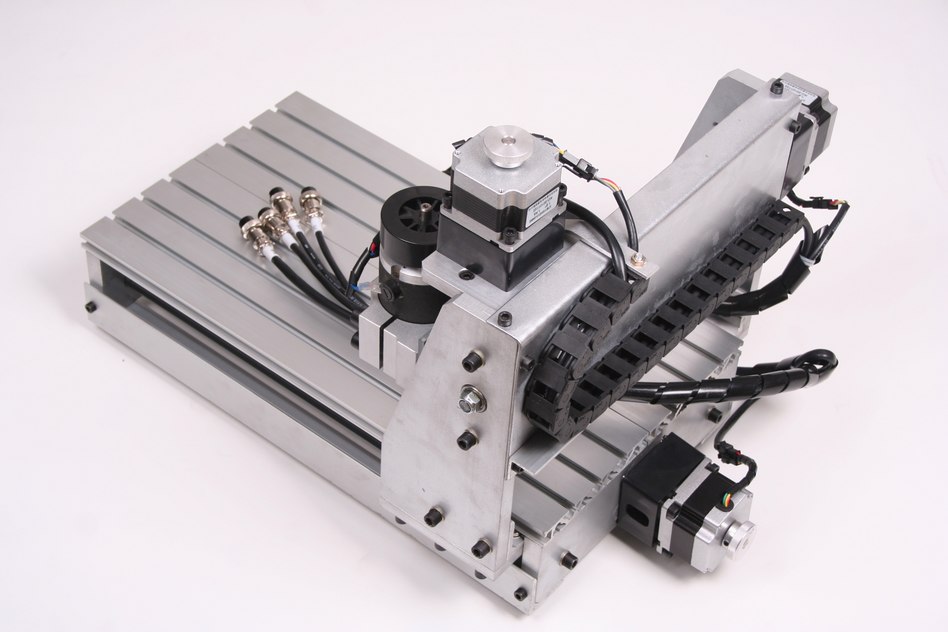
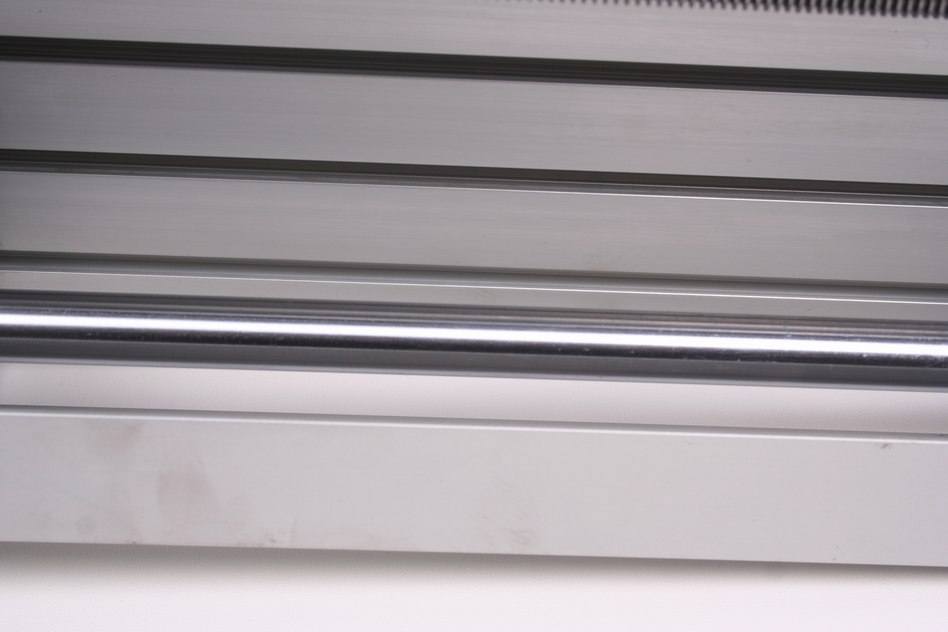
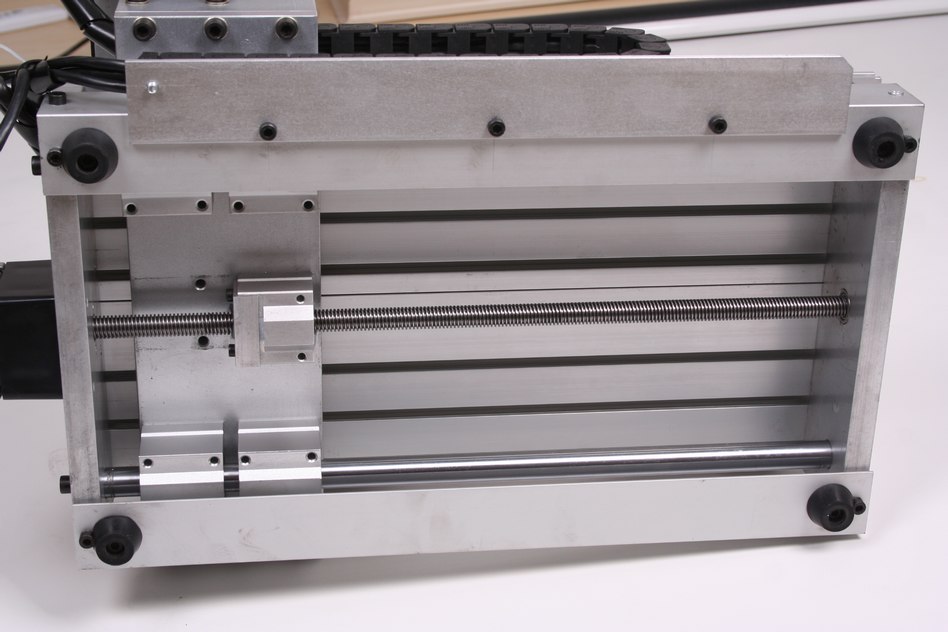
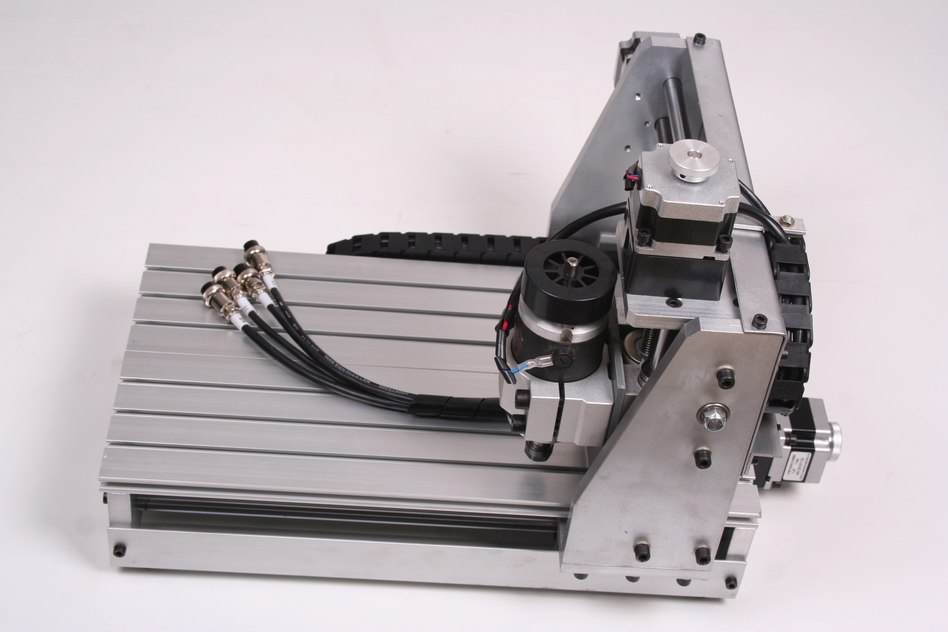
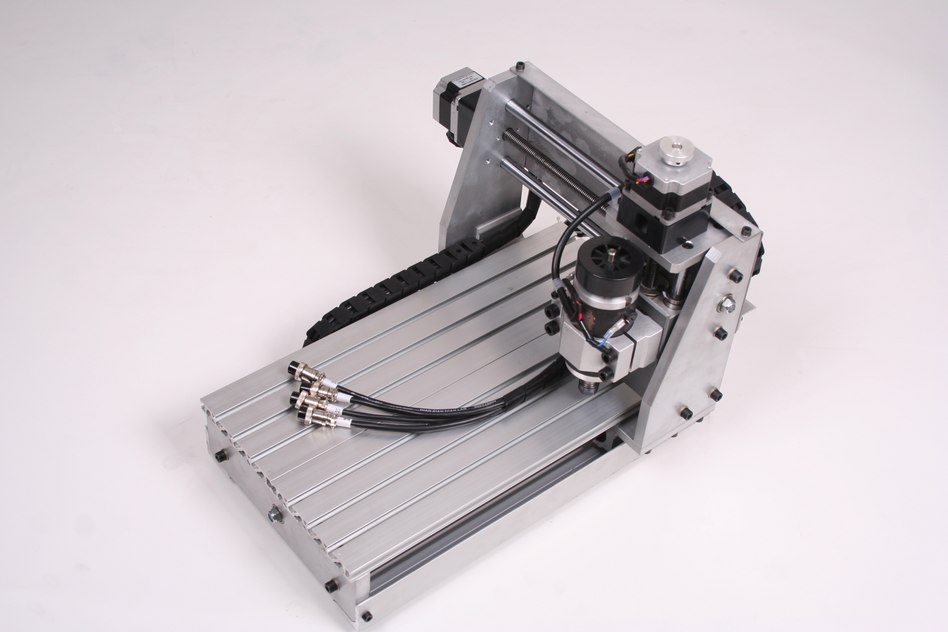
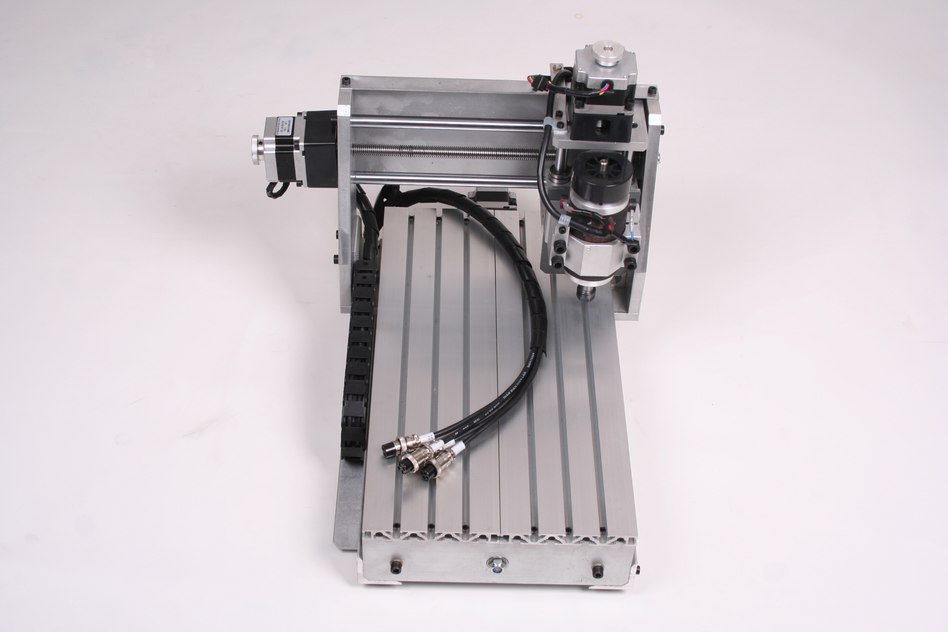
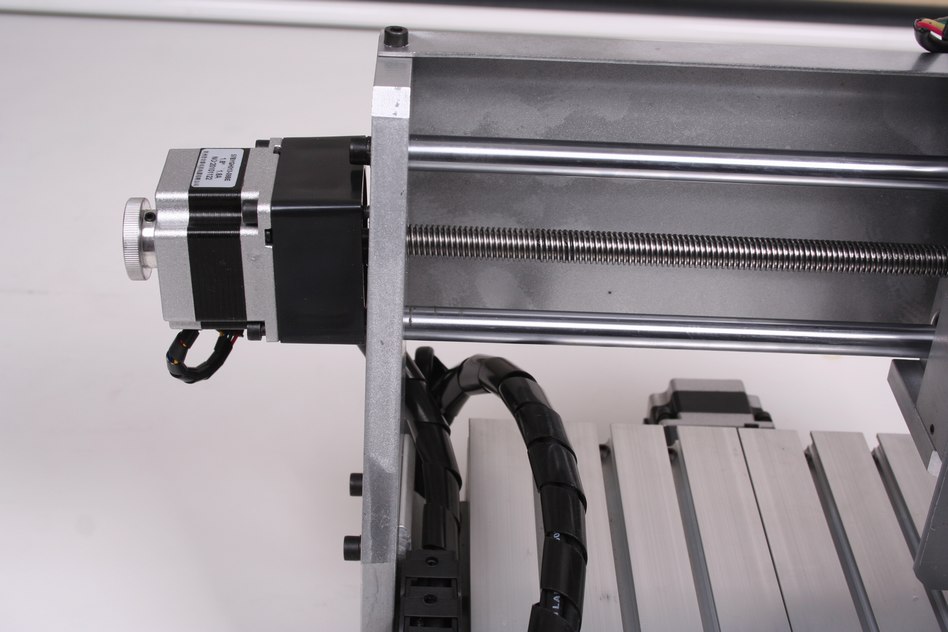
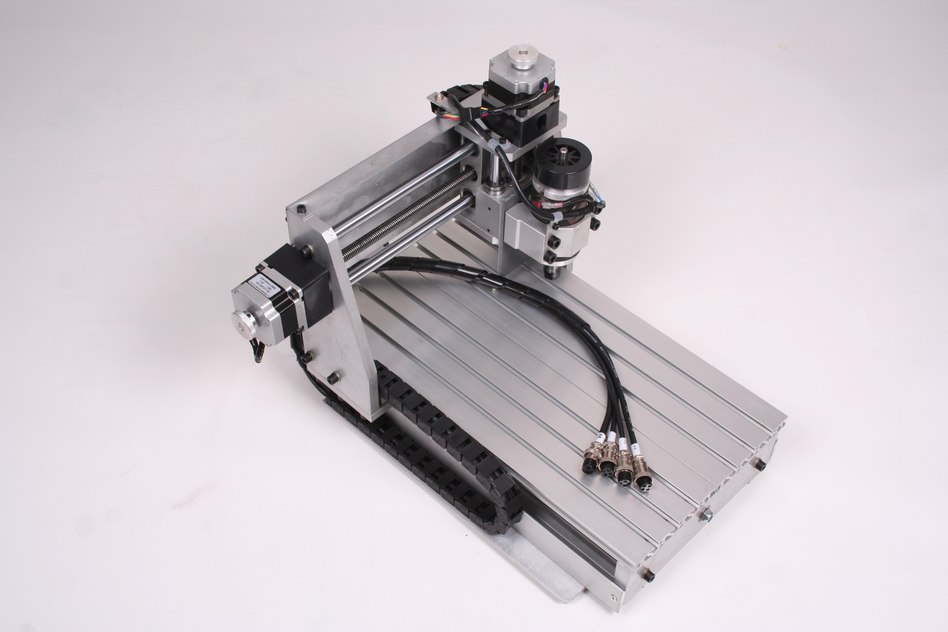
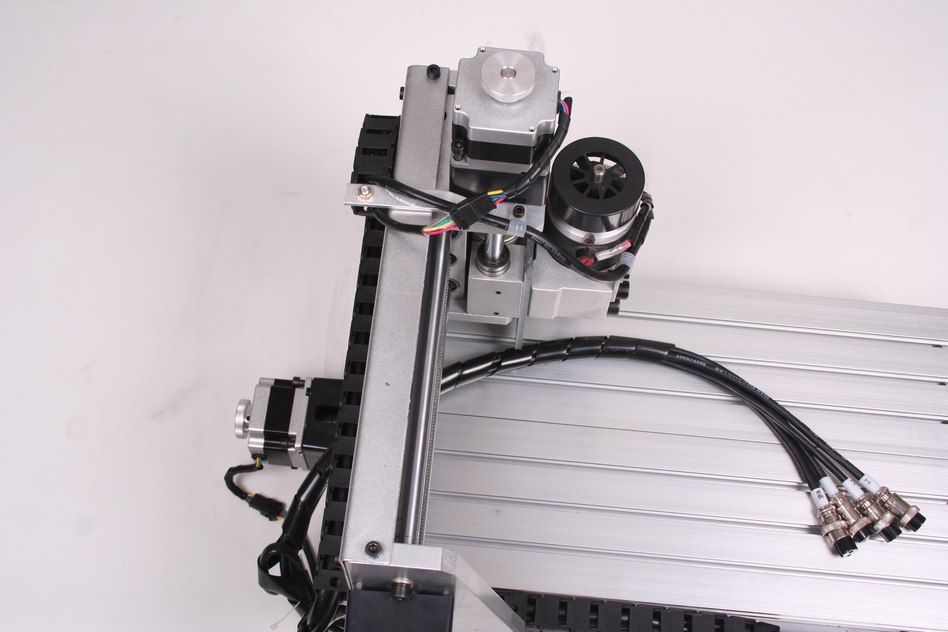
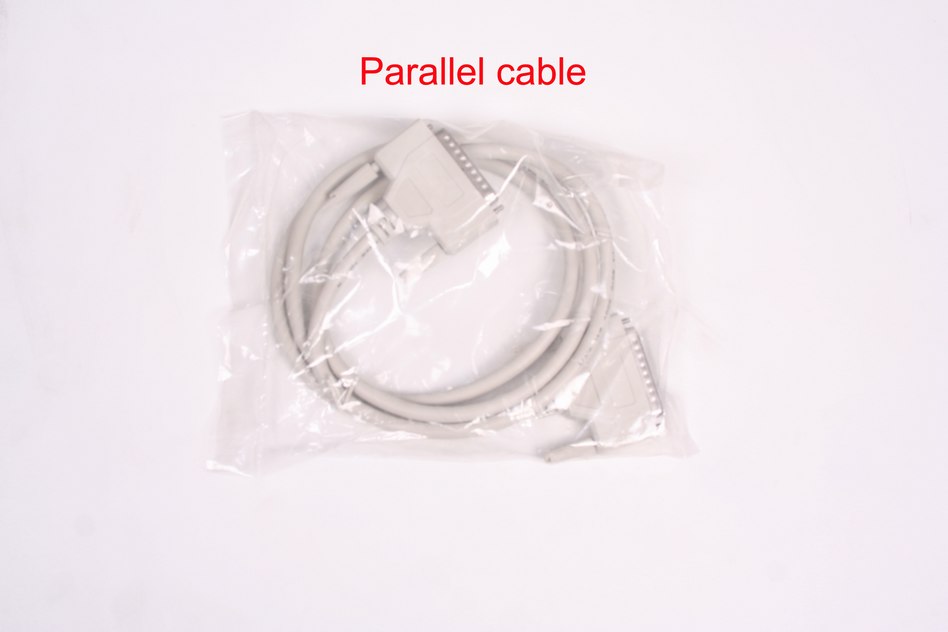
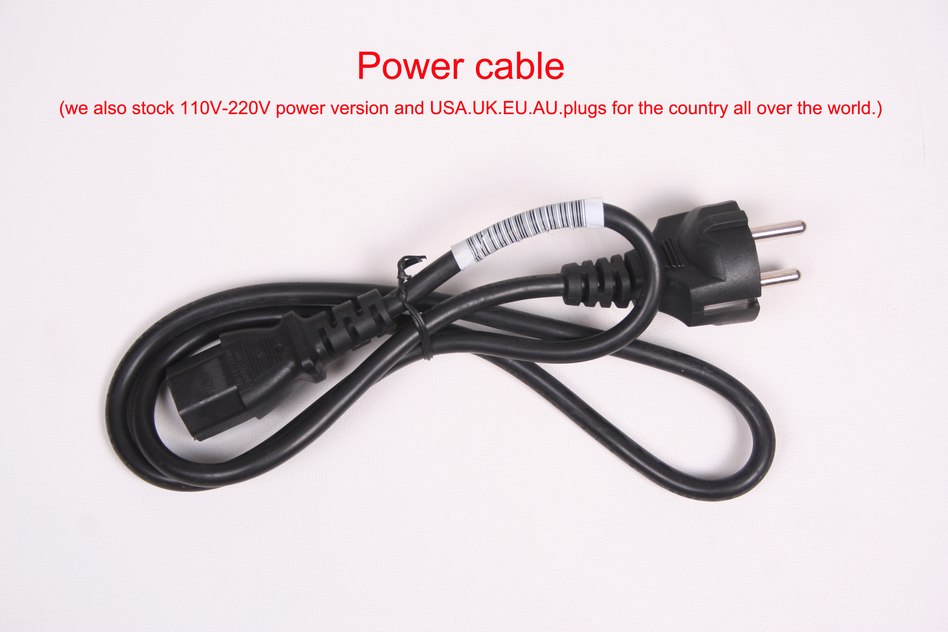
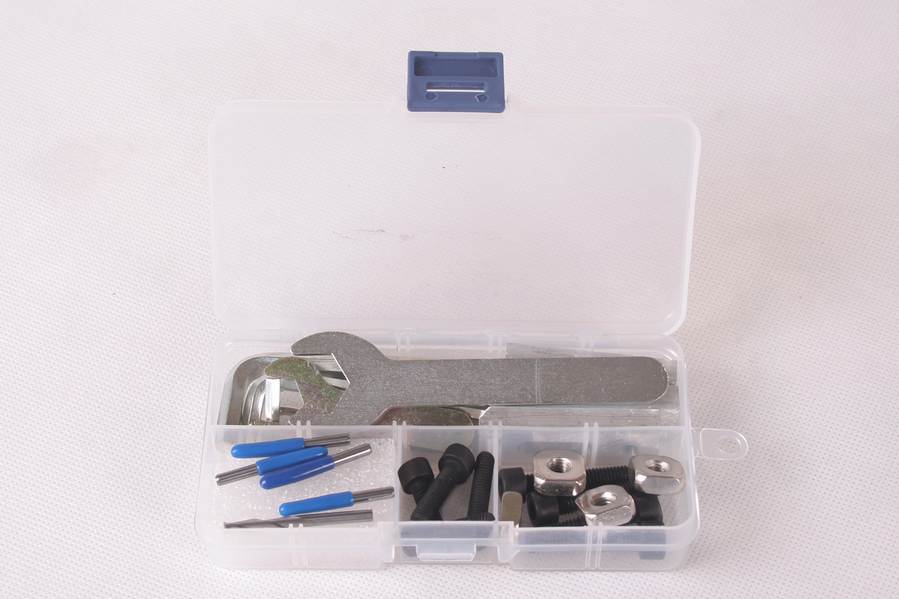
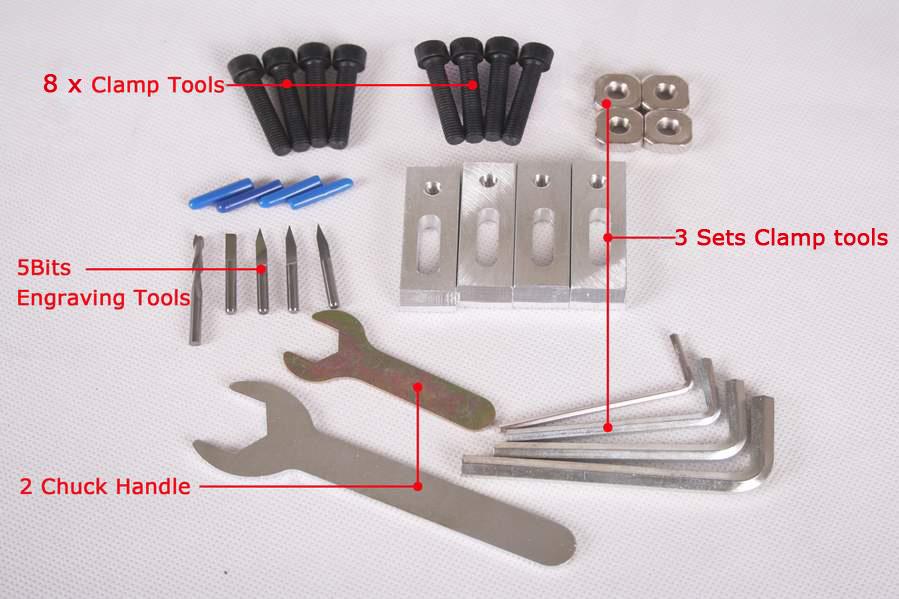
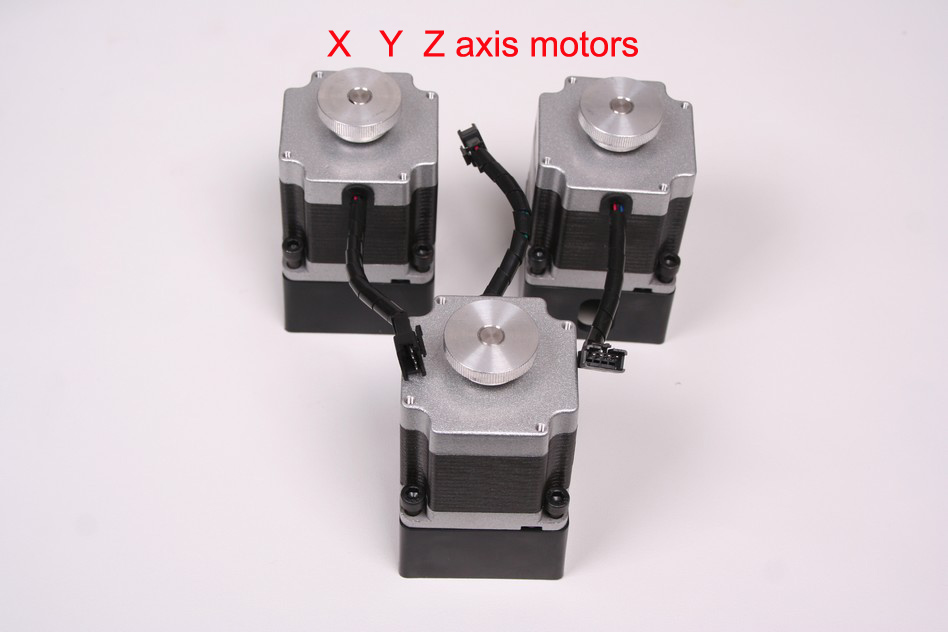
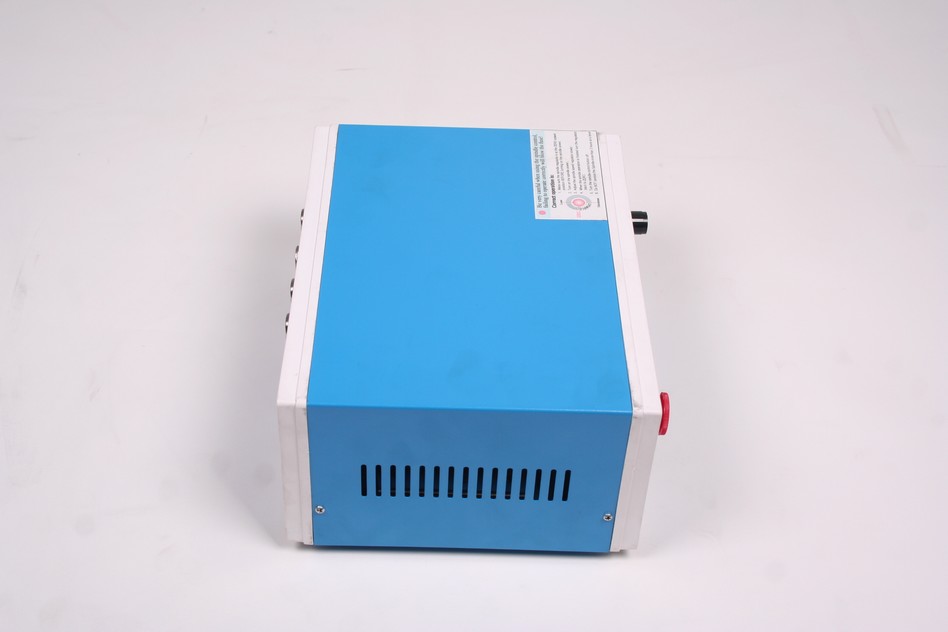
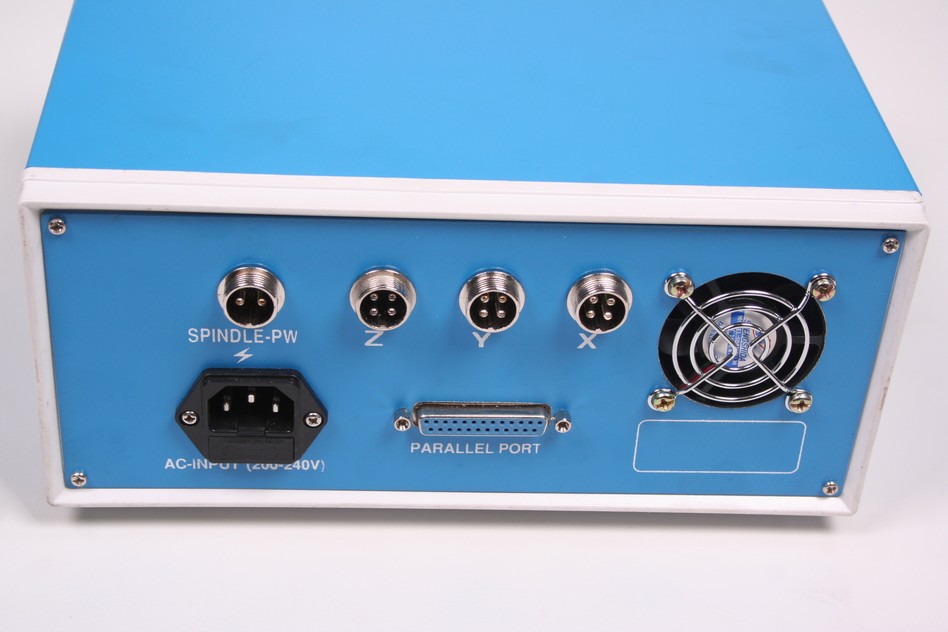
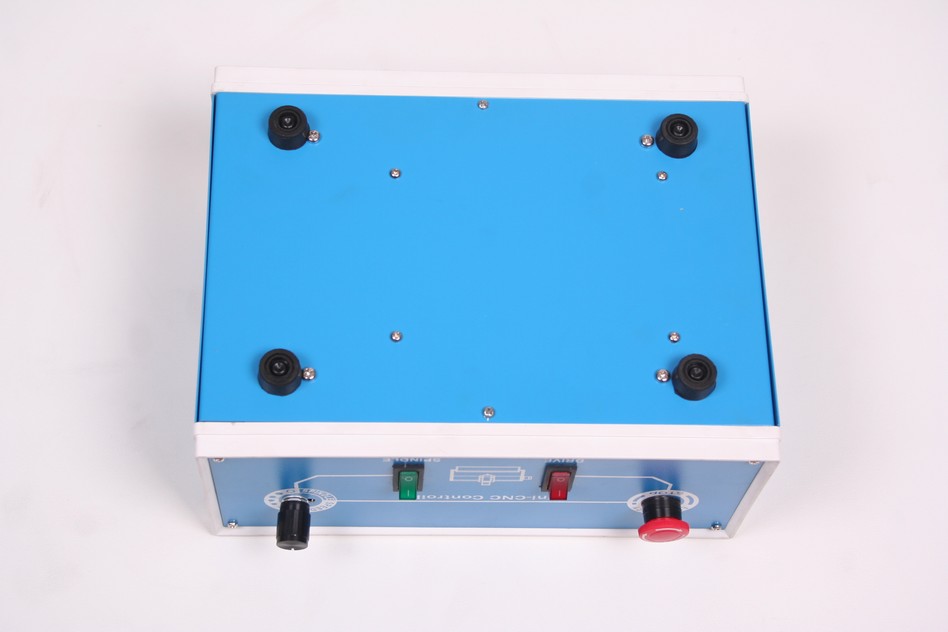
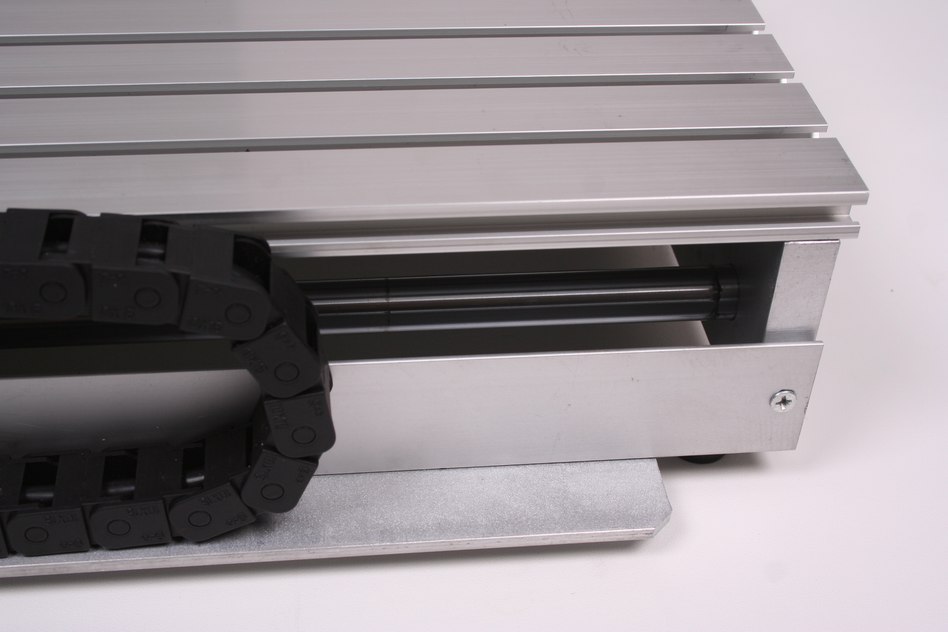
Purchased Chinese 3020 CNC Router

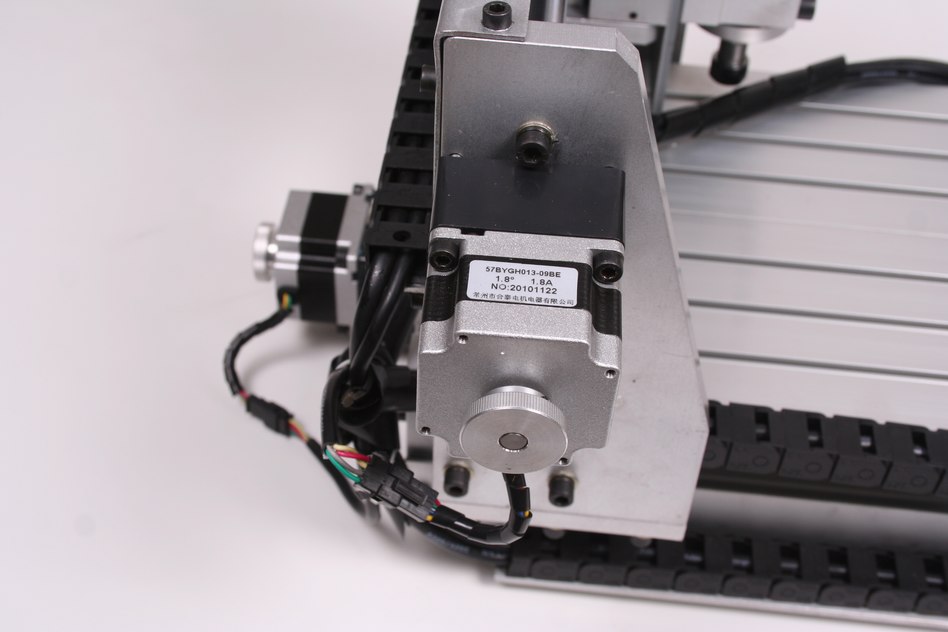
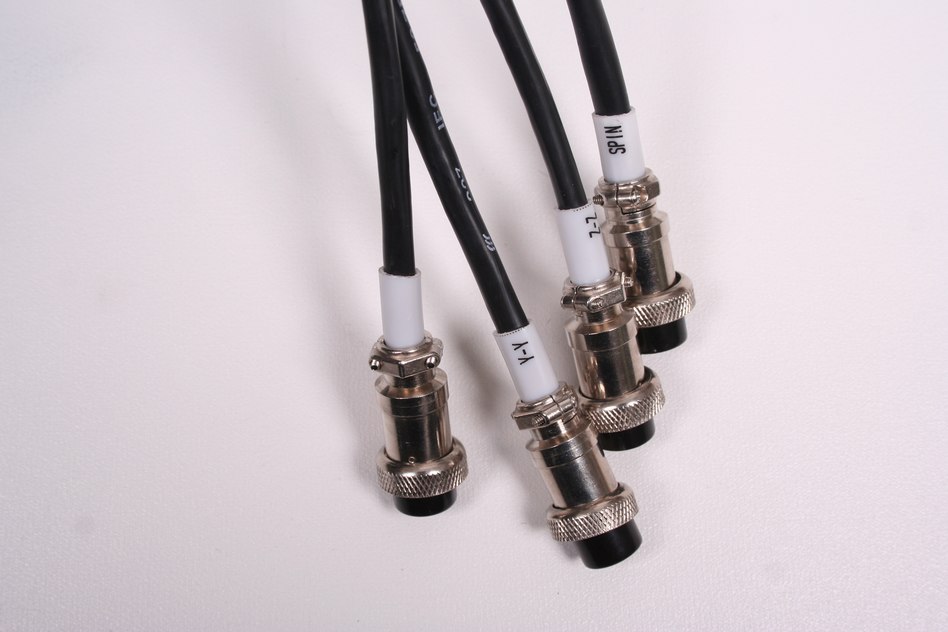
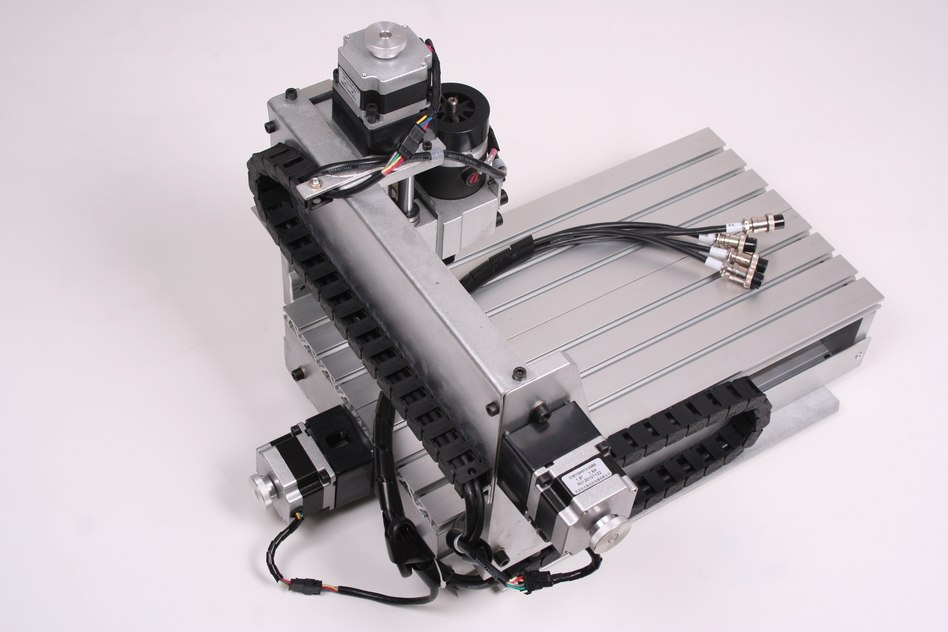
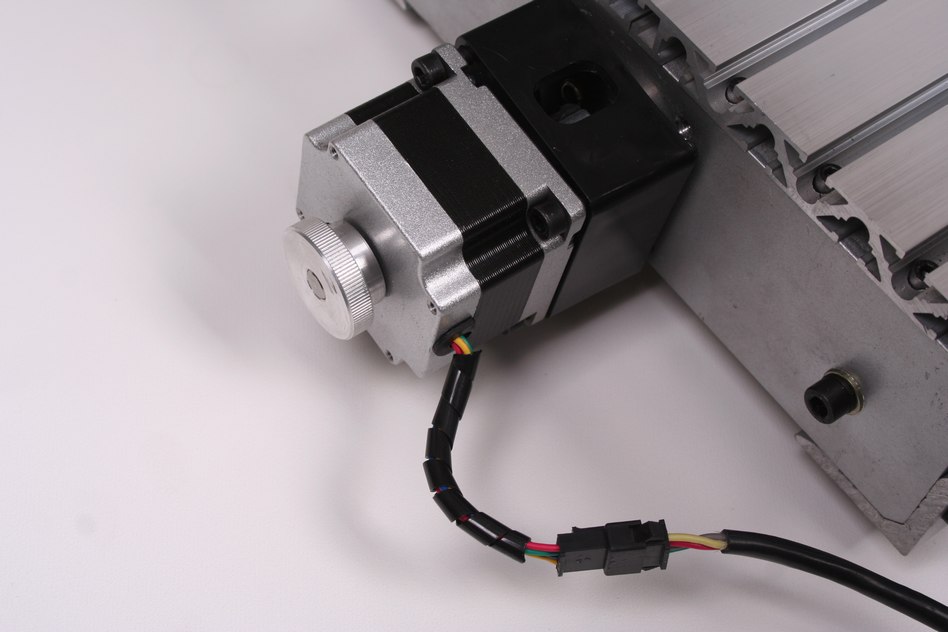
I purchased a generic 30mm x 20mm CNC bench top router for manufacturing PCBs at home. Below are the stock images of the machine which were included on the FleaBay listing. I will be taking pictures of unboxing and setup and posting them once I receive the machine. Then of course I'll follow up with software configuration and my first routing tests.